Make-up must have… tutorial

Sometimes when you are not feeling your best (me the last couple of days) it helps to still try and look your best (take your own advice Eleanor!) my gran always believed that looking good was step one in feeling good, so it’s time to fake it till I feel it 😉

Today Ranique gives some advise on how to put your game face on… and what products you will need to make that face a pretty one, hehehe

As the New Year starts its a good time to check your make-up bag/kit…
You might have a few items that needs to be tossed away.
Yes make-up also has a expiry date!
So how do know how long you’ve had your favourite lip gloss?
If you don’t remember, you need to estimate and if you cant estimate, then try to check if your make-up smells funny or funky or off.
That’s usually also a cue for make-up to find a new home in the bin.

So now that you might have less make-up…
It’s time to get some new things!
But what to buy?
Now if you’re replacing your make-up,  your brushes should probably also make it’s way to the bin.
And this time you’re going to get exactly what you need.
There are 8 brushes you need to apply your make-up with ease.

Now that you have new brushes, you need fabulous make-up to match.
Clicks and Dischem has this amazing “mini kit” with everything you need!

It contains EVERYTHING you need!
Mascara
Eyeliner
Gloss
Blush
Eyeshadow

Now if you’re someone who doesn’t wear make-up everyday,  this “mini kit” is a goid start.
You have 10 eyeshadow colour options to play around with.
2 blush options.
It retails at R279,99.
So it’s a real good saving too.
Being 6 months into motherhood has thought me to wear make-up the simple way.
Like Ella says, “Gloss and go!”
Sometimes I put in real effort and go all out with my make-up,  because I need to “carry my work” every now and then.
But other days it has to be “gloss and go!”
What’s so nice about this “mini kit” is that it has the gloss for simple days and the colour tòo for vava voom days!
But don’t fret if you’re a “Gloss and go!” girl, it’s simple…
The beauty lies in the simplicity.

You’ve got work to do….
Go chuck away the old and get with the new… It’s a fabulous way to start the New Year!
Now go shopping!

My weekend and an almost instant smoothie recipe

Aidan LOVES stickers “stickies” I noticed he got a thrill from taking stickers off clothes and putting it on things
I bought him a sticker book and it’s been quite the hit 🙂
LOVE these by woolies, where were they when I was pregnant or breastfeeding
I can’t decide which one is my favourite….
This is how I saw Aidan most this weekend…uppy mama uppy ….think he realized work was about to get full time again
Went bowling with the in laws of Friday-here Robin’s brother Allan shows his daughter how to bowl
Allan happens to be Aidan’s Godfather
I love this pic 🙂
Aidan’s aunts, on the right it’s Allan’s wife Kim and on the left Robin’s sister Mandy
Me and Kamryn 🙂
Just chilling with a blow up pool, because we can 🙂
Seeing these two together is good for my heart
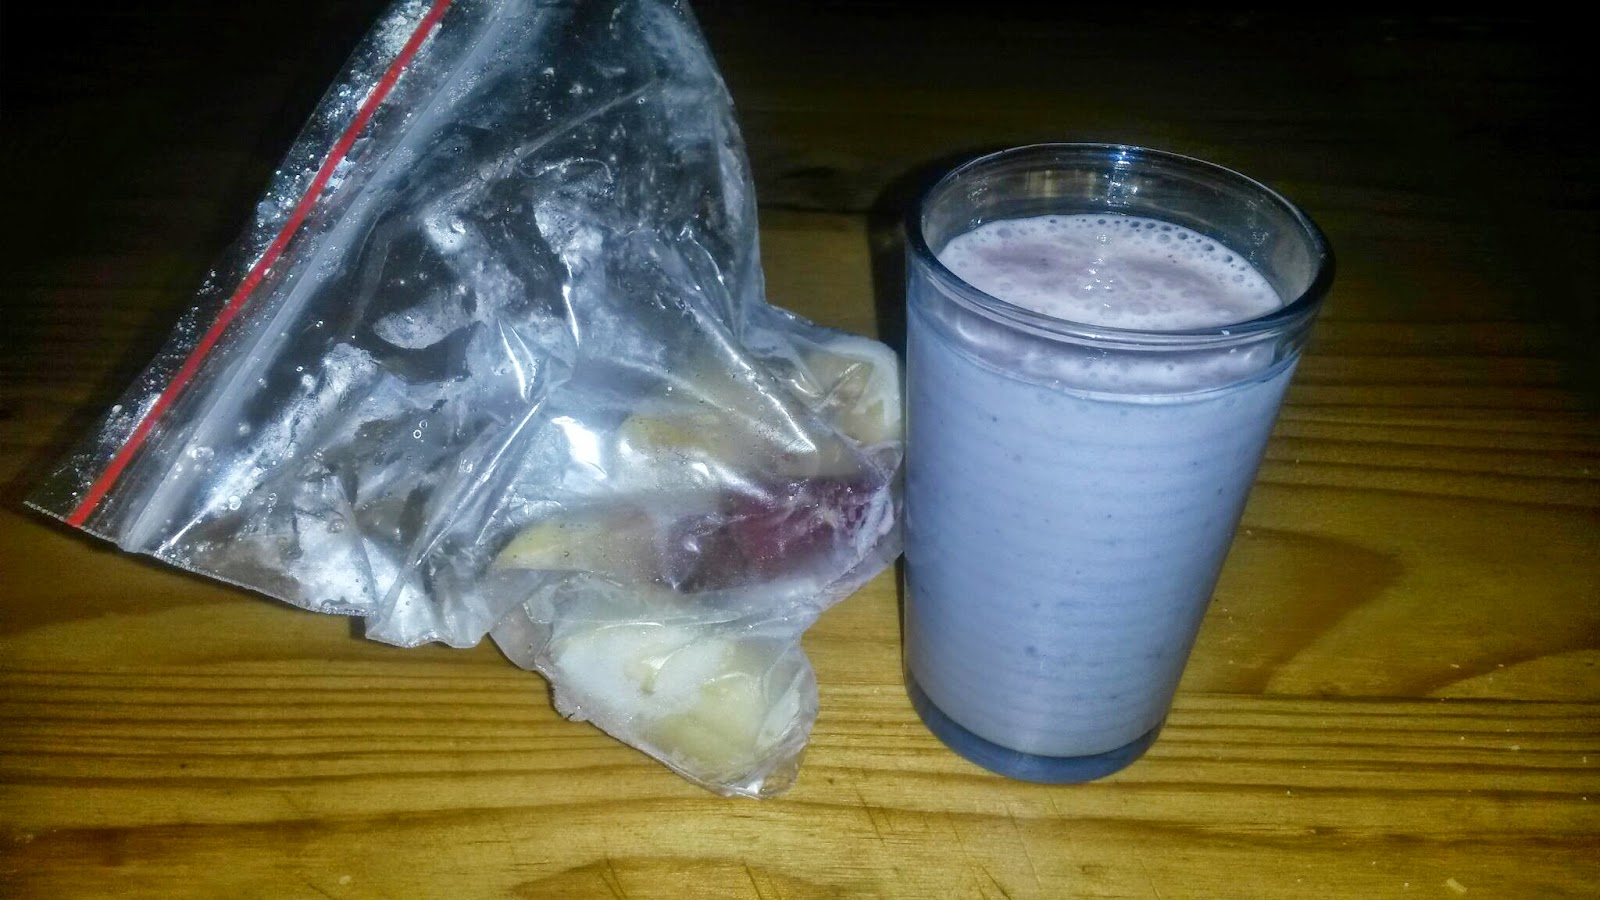
A little smoothie tip:
Freeze a banana and a handful of other fruit of your choice together in a container
When you want a smoothie just blend it with a glass of milk (the frozen banana makes sure it’s nice and thick)
I add a little fun sized yogurt (when I use soya milk) and am able to change the flavor by changing the yogurt
EASY PEASY
I do this every time I go grocery shopping (whatever fruit is on sale) and can whip up a smoothie or two with minimal effort 🙂

Play Dough kits FTW!

Aidan loves play dough! as you can see:

http://instagram.com/p/w6236fgPTF/?modal=true


 I quite love it myself, it’s such an awesome learning tool and has become one of my favourite gifts to give…I create little kits and so far it has been quite the hit… Using this RECIPE  I make play dough and package it with whatever I think the one receiving the gift might like, here are three kits I made over Christmas 🙂

AIDAN’S KIT:


I used a double-decker lunch box to store his play dough and a little fire engine box to store the bits and pieces
A baking set (around R30 from crazy stores)
 and two soap dishes (R1 each, I kid you not) full of buttons and things to stick on


I added popsicle sticks and paint stamps which make great dough embossers

The soap dishes became mini nature and  monster kits… Because he loves bugs and monsters
Monster kit: Googly eyes, hands and feet buttons
Nature kit: Mini bugs, tree and flower buttons
Just printed out pictures for the top and stuck on with contact plastic – and there you go


For two special little girls:

My friend’s daughters LOVE play dough and according to her played with the play dough from Aidan’s party till the dough just could not anymore, hehehe. I used the same double-decker lunch boxes for them (mine currently holds a salad in the fridge) and filled the top with play dough and the bottom with craft supplies; sticks, pompoms, googly eyes, pipe cleaners … and they LOVED it 🙂 I stuck their initials on their containers because who doesn’t love personalised things.

For Aidan’s cousin Kammy:

As an addition to the gifts we bought as Kammy’s Christmas gift I decided to add some play dough.
I took a tub which used to contain food, chicken livers to be exact, hehe, and used pretty scrapbooking paper and a sparkly flower to decorate the top. I added three different colours of play dough and a little butterfly cookie cutter to make one girl’s day. She actually played with this way before the store bought gifts.
 

I will probably be making way more kits, I might have a problem 🙂

Super easy stocking fillers

If you are like me and prefer making things as stocking fillers instead of venturing into the world of December shopping mayhem, you will love the following DIYs they take like NO time and provide tons of fun for the little ones… I should know as my little one discovered his before I got a chance to stick it in his stocking and he has been loving it:

Minion Lacing Toy 
and Velcro Sticks

LACING TOY:
What you need:
– Laminated picture (This was one half of a birthday card…waste not want not)
– Rope of Shoe lace (I started craft with rope but found shoelace worked waaay better)
– Paper Punch
What you do:
– Punch holes around picture 
– Yes you are done now… give to child to lace around the picture
VELCRO STICKS
…Aidan LOVES these and calls it his sticky stickies
What you need:
– Popsicle sticks
– Velcro
– glue (used wood glue but next time I’m using a glue gun)
What you do:
– Cut Velcro into little blocks (You get pre-cut, but the roll was R5 a metre so I went with that)
– Stick the fluffy side on one side of the stick and the sticky side on the other (very technical terms I know)
– Turn stick around and do the same… so one end of the stick has two fluffy pieces and other end has two sticky pieces
– You are done
– Store in one of the bags you made using THIS tutorial

Make your own little drawstring busy bags


I am definitely one of those moms who always has a toy in her bag, for “just incase”
I make double sure to take a little busy bag along to church, the doctor, restaurants and on visits because expecting him to sit still in those settings is just not sane I tell you! 
I’ve been using ziplock bags to shove puzzles, cars or crayons into, but I needed a more ecofriendly solution… so in comes my little drawstring busy bags made from an old t-shirt:
 
 
WHAT YOU NEED:
– An old t-shirt…I used a faded baby one
– scissors
– twine/ribbon/string
– needle and thread

WHAT TO DO:

1.  Cut under the sleeves and then down the centre
2.  Turn piece you have cut off, inside out
3.  Sew sides and bottom, using a basic stitch (I only know basic stiches, lol) do not sew closed the seam part
4.  Attach your twine/string/ribbon to a hair pin and lace it through the seam
5. It really is as easy as that 🙂

White clay ornaments DIY


My mom is very crafty and I remember making loads of things with her when I was growing up. This included ornaments for our tree…I wanted to carry on this tradition and remembered these cool salt dough ones we used to make.

You made shapes like playdough and leave to air dry and then you could paint and make them your own…

My mom could just not remember the recipe we used to use so I took to the internet and found something even better. One of my favourite sites, the imaginationtree, had these interesting looking cornflour and baking soda ornaments. They are awesome and  come out  in this brilliant white which looks very classy in my opinion. It has a grown up feel without a grown up price. Even my mom agrees that they are a salt dough upgrade…

What you need:

1 cup bicarbonate of soda (baking soda, not to be confused with baking powder)

1/2 cup corn starch (corn flour)

3/4 warm water


How to

Mix dry ingredients in a pan and stir through warm water.

 Mix over a medium heat, stirring as it starts to bubble.

Continue to stir till it thickens and starts to resemble a soft play dough consistency, take it off the heat and leave it to cool for a few minutes.

Turn it out onto the counter and knead it for a couple of minutes to make it pliable.

It should look and feel like bright white play dough!

Use cookie cutters to cut out shapes and a straw to cut out holes for hanging up

Decorate with whatever you like (I used a large patterned pendant to give a lacy effect on the hearts)

The stars were decorated with letter stamps

Aidan insisted on using his car cutter, so those two will be painted while I leave the rest white

Adding glitter will give a snowflakey effect 🙂